In the oven: Crackers – made from discard sourdough starter; various toppings. (See recipe at bottom of post)

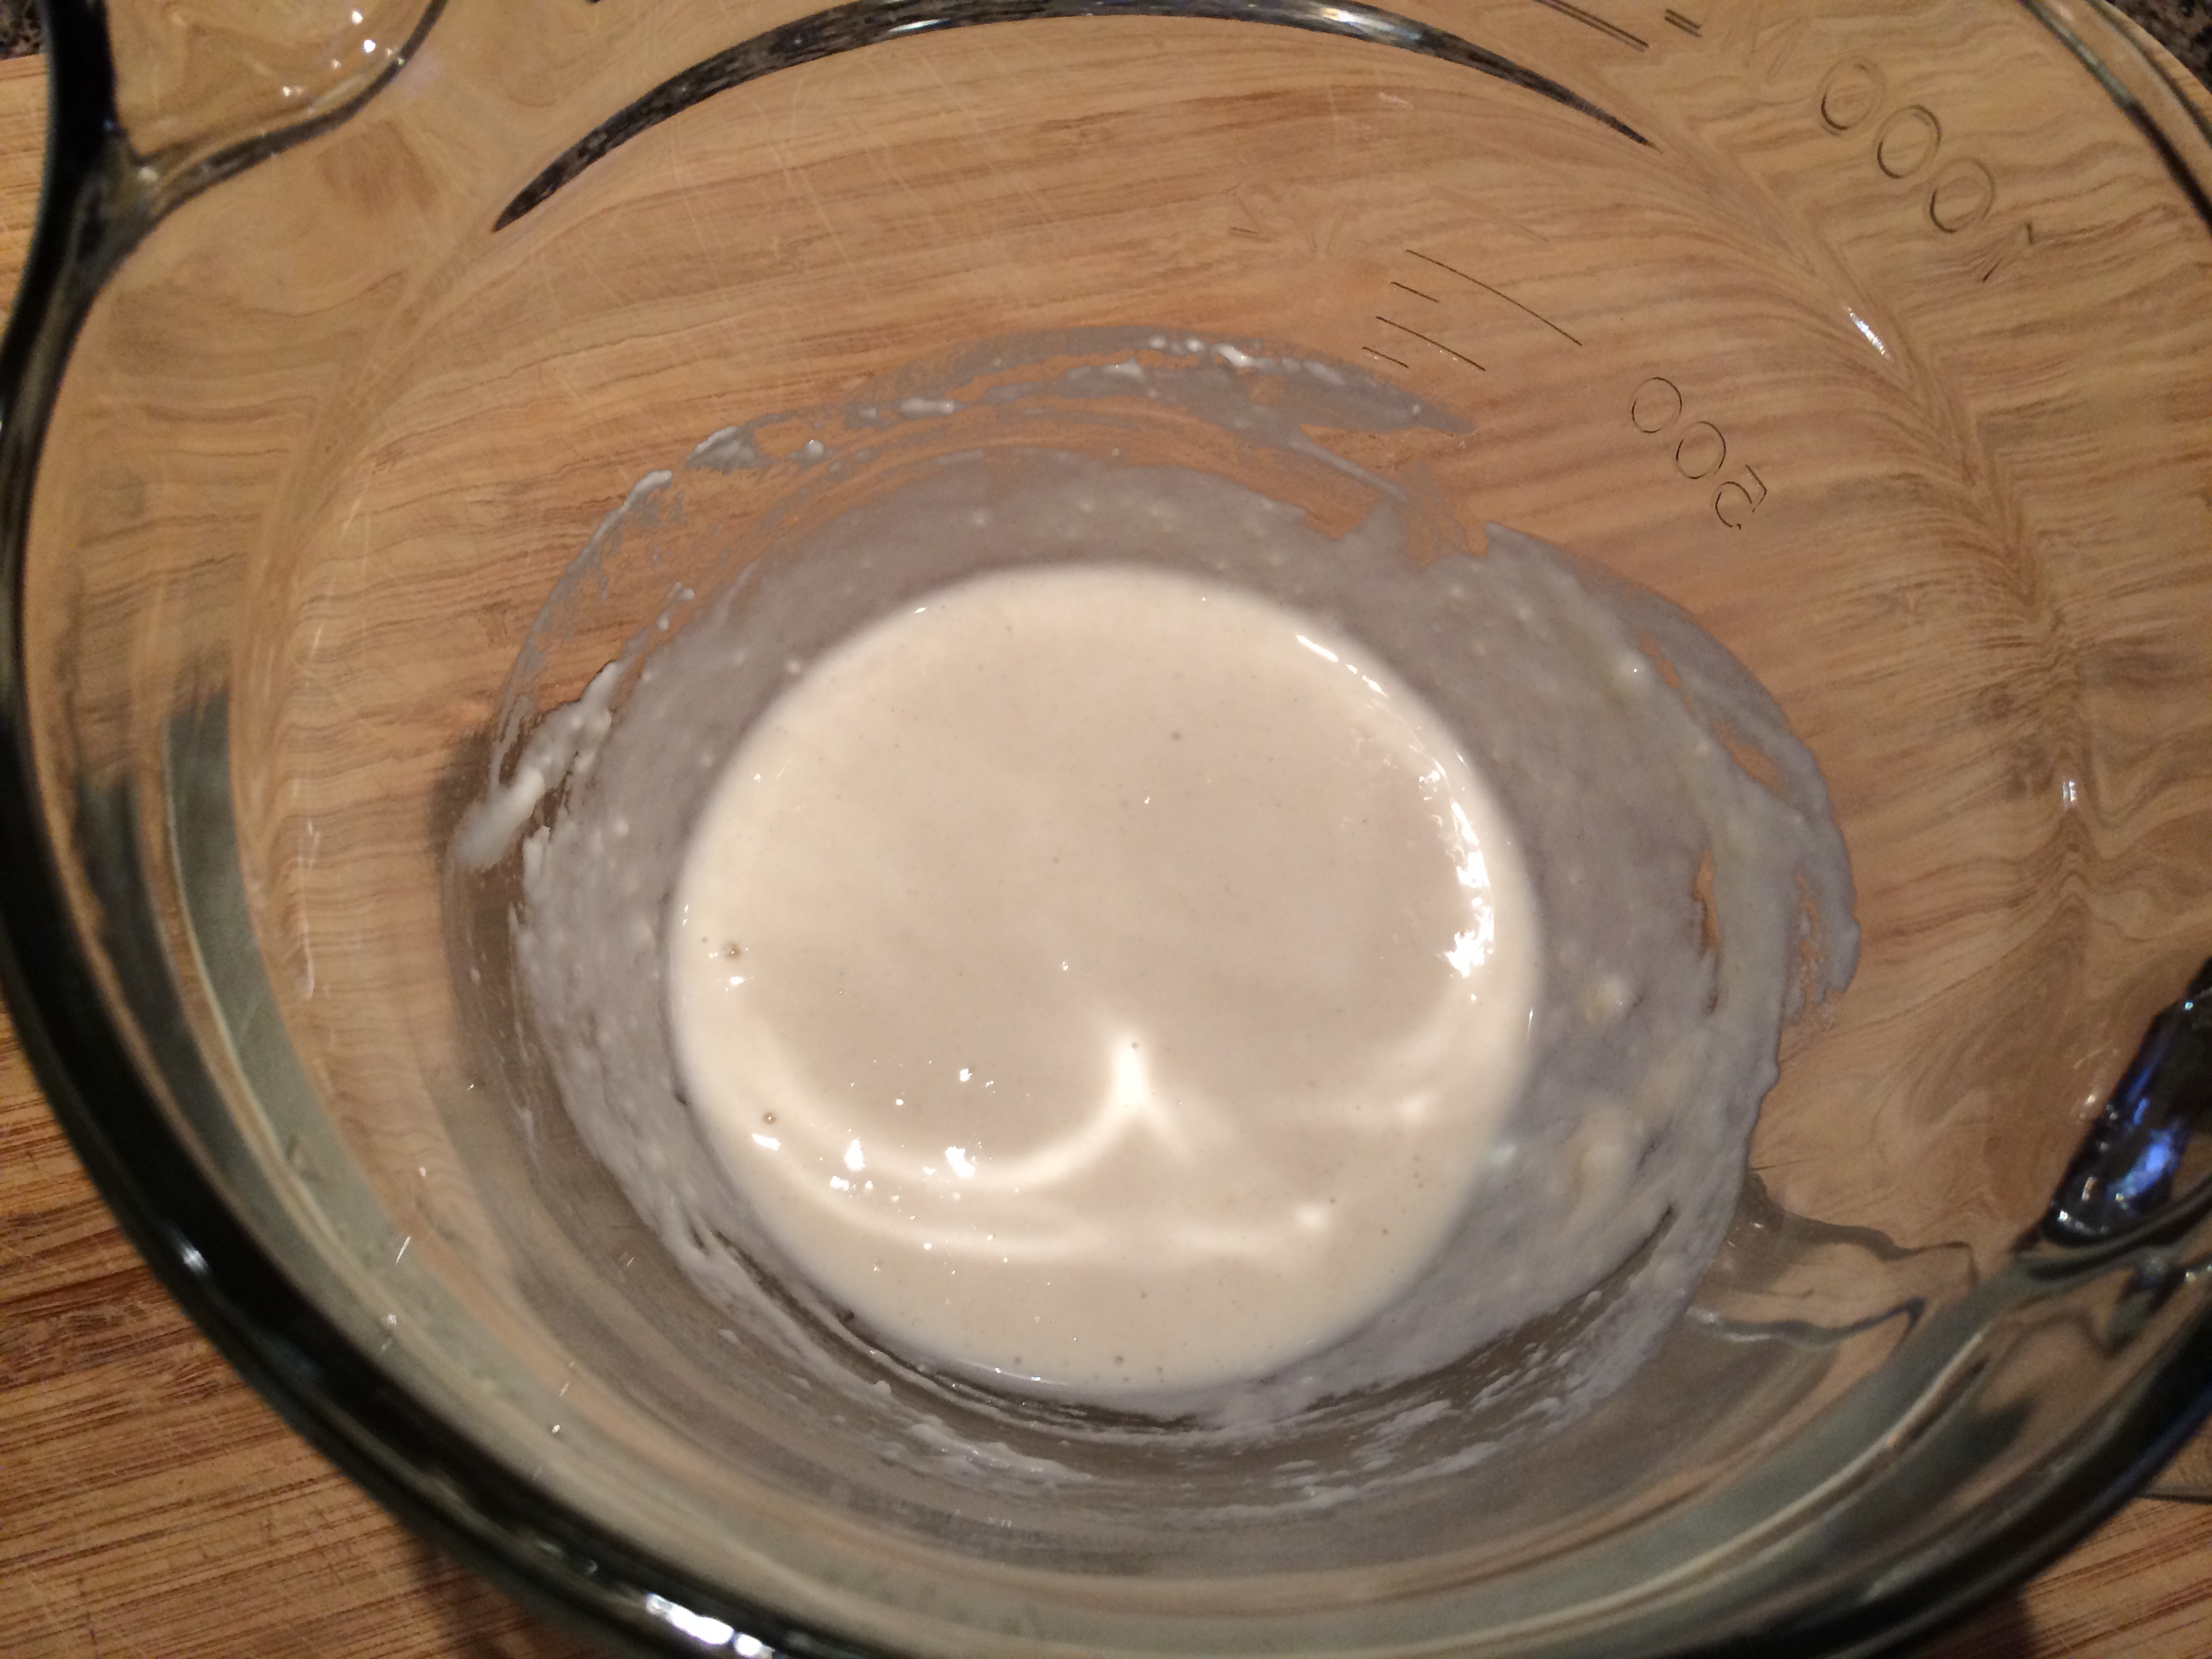
Lula is my bubbly new sourdough starter. She is named after a character in the Stephanie Plum series by Janet Evanovich. Lula’s character sports a huge personality; someone practically bursting from the seams (literally). She brings life to the series even though she is not the main character. I felt it an appropriate homage to name my sourdough starter after her.
This is my third rendition of Lula. Lula I and Lula II faded into the sunset a few years back. But I am ready to try again. I finally have had the time to hang around and see her properly tended to and fed on a regular basis. Hey, third times a charm, right?
In this version I took a different approach (after all, what is the definition of insanity? Doing the same thing over and over and expecting different results…). In the past I made my starter completely from scratch. I began with organic bread flour and water (reverse osmosis). It is perfectly acceptable to stop there and make the starter from only flour and water; however, I added organic grapes which have a natural yeast to help get the ball rolling. And it does work. I have made a bread starter several times in the past with success. It does, however, take a bit longer to build up to its full baking strength, and seems quite a bit less resilient to the ‘occasional’ user error (neglect). And it was, ahem, user error which led to the downfall of Lulas I and II.
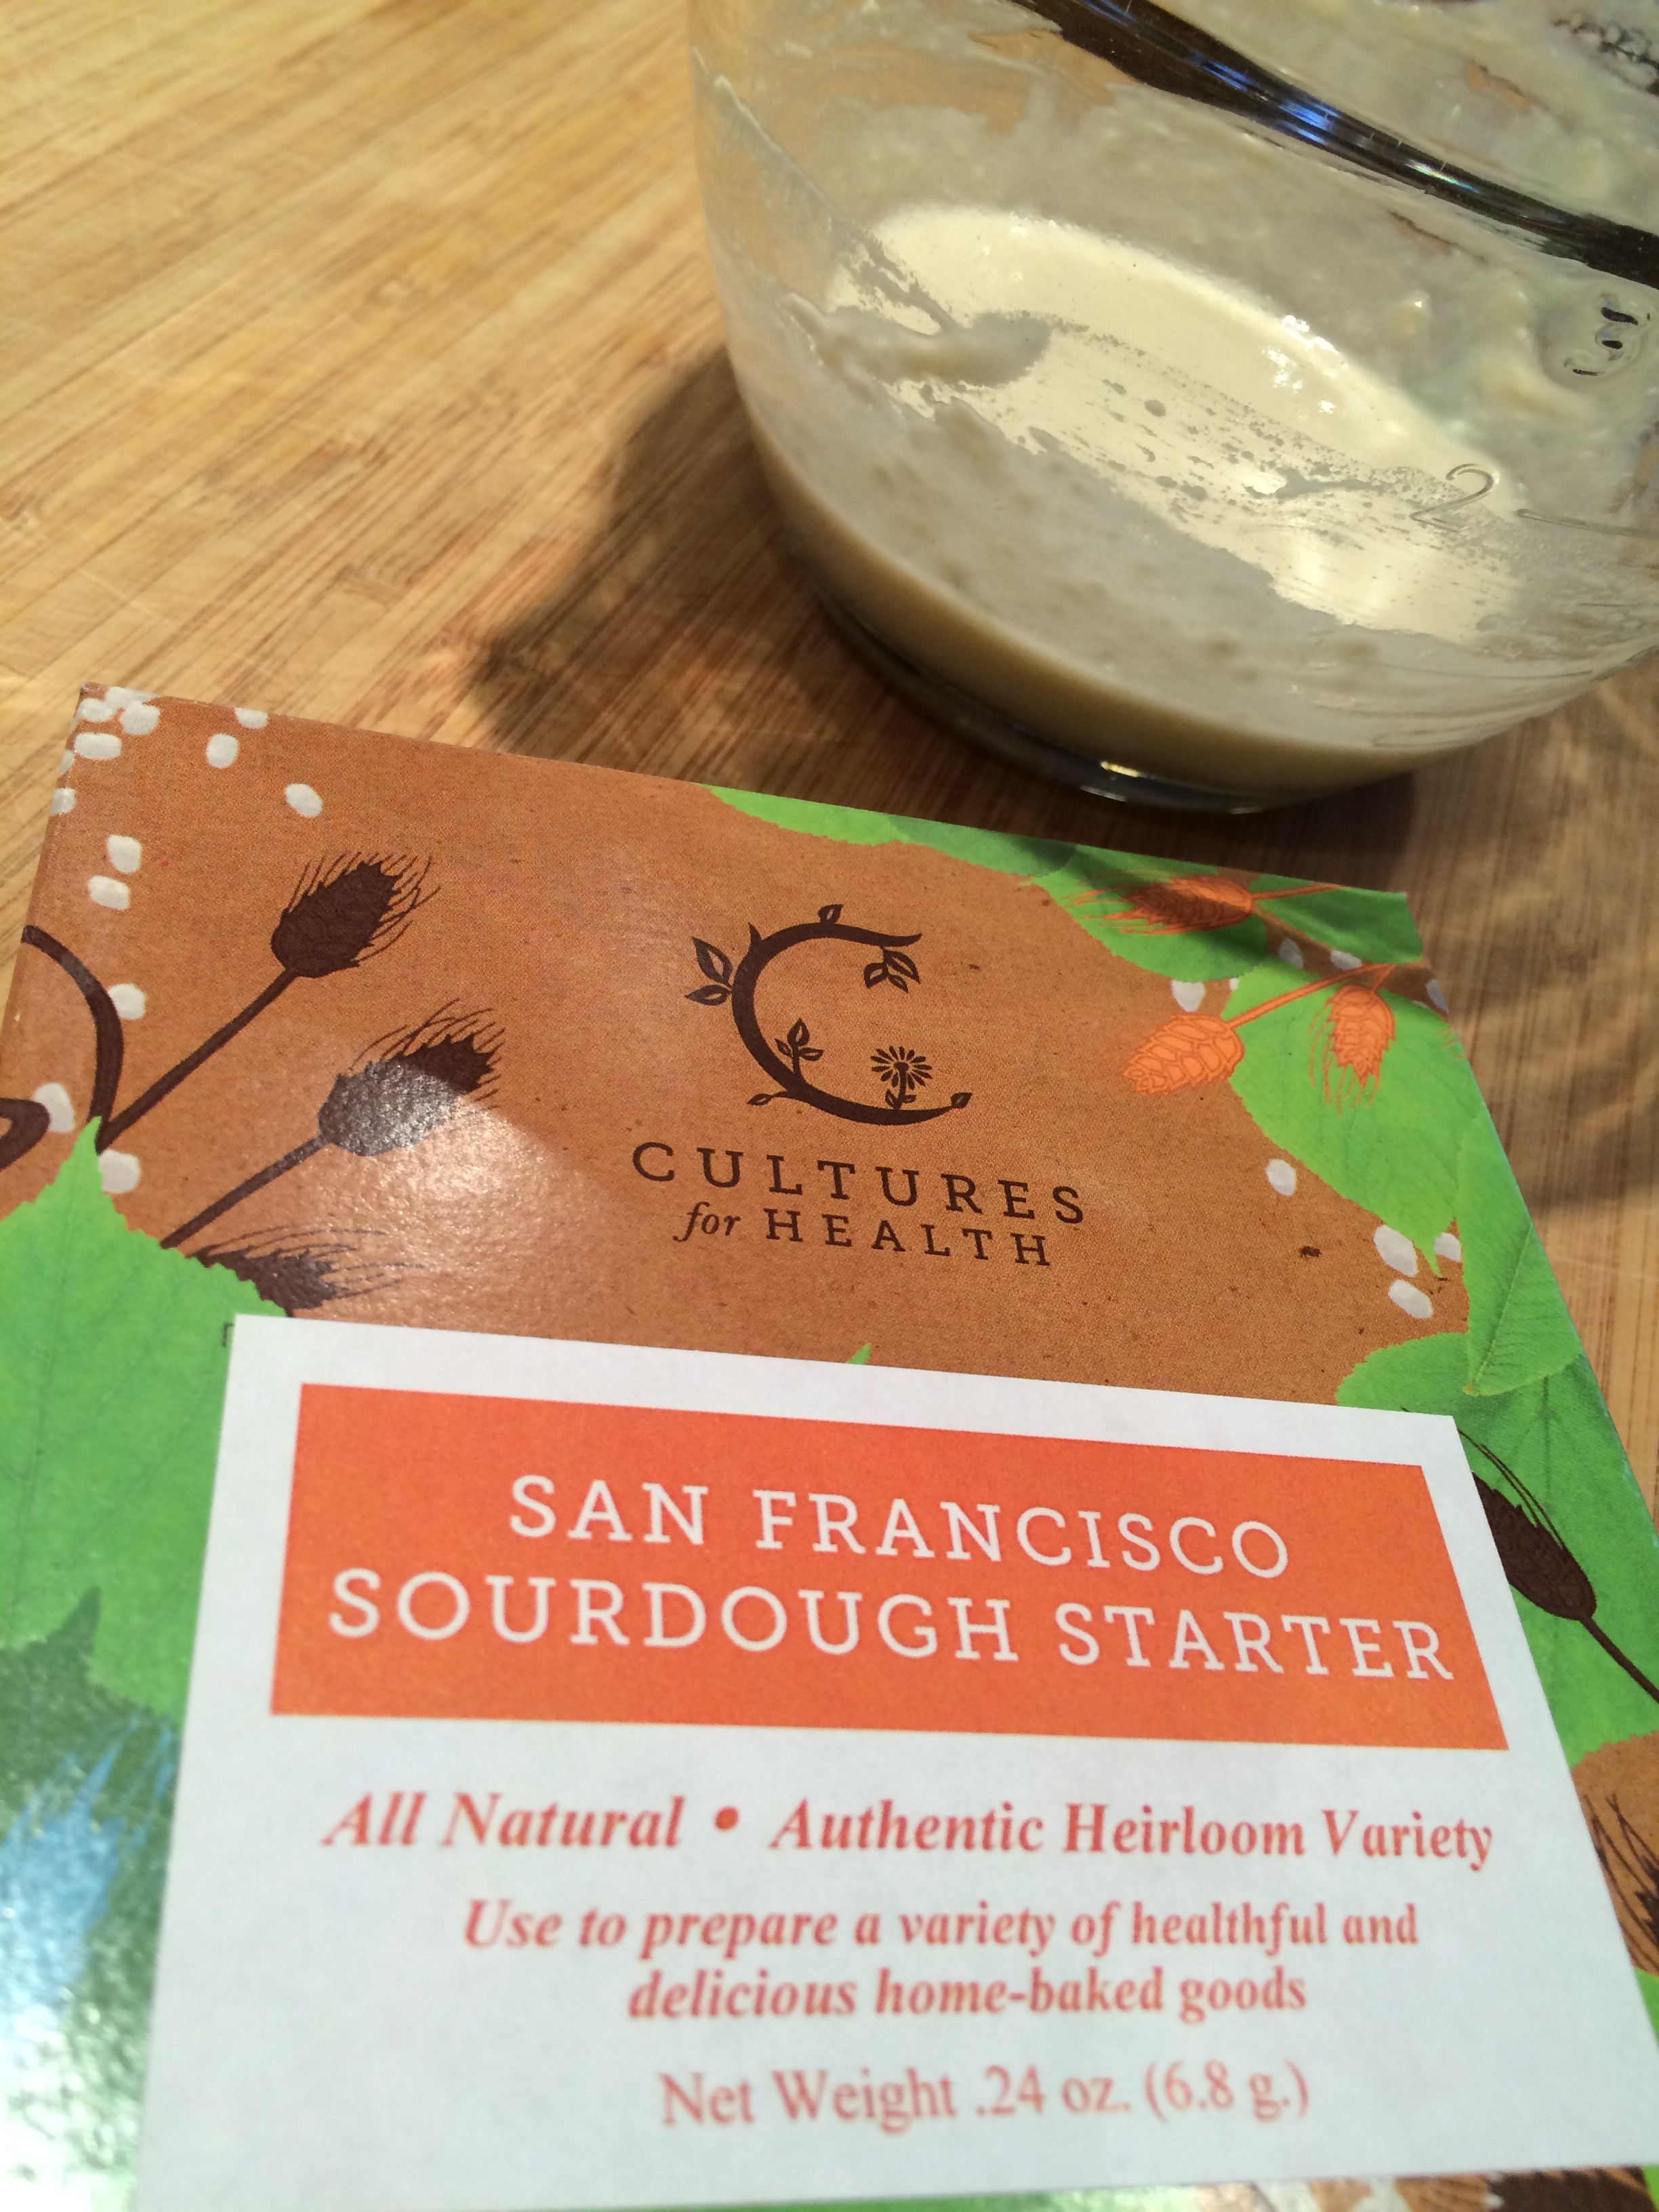
This time I began with a starter culture which I received as a freebie from Cultures for Health last year. It has been patiently waiting in my freezer for my travel schedule to open up…and for my life in general to have a bit of extra time. The opportunity arose this month and I took full advantage!
I was worried it had been in the freezer too long or that perhaps it had not been handled properly in its shipping. I was not in any way expecting the results I got once I finally mixed her up. An established starter took way less time to build up to its full potential. The instructions said it could take up to 7 days to be ready – my previous versions took closer to 14 days to reach full potential, so this was already an improvement. In reality, Lula III was ready to bake in only 3 days. Three days!!

Amazing!
It was such an unexpected surprise that I was caught unprepared to actually bake with her. I figured I would have time to leisurely peruse my bread baking books and scroll through some of my favorite online sourdough sites to come up with some fun recipes to try. While I have finally taken the time to do so, I have yet to make an actual loaf of bread. To date I have made homemade crackers with some of the discard starter – of which there is a LOT; sourdough waffles, and focaccia bread.
We are having fun already and the party has only just begun…
Sourdough Crackers*
*adapted from the King Arthur site
- 1 cup Flour (I used half whole wheat, half All-Purpose)
- 1/2 teaspoon sea salt
- 1 cup unfed (“discarded”) sourdough starter
- 1/4 cup (4 tablespoons) unsalted butter, room temperature
- oil for brushing – I used olive oil.
- coarse salt, chopped herbs, poppy seeds, sesame seeds – for sprinkling on top. (optional)
1. Mix the flour, salt, sourdough starter, and butter to make a smooth dough. I use only a spatula for this…no fancy tools needed!
2. Divide the dough in quarters; Wrap with plastic wrap, and refrigerate for at least 30 minutes. I’ve kept it in the fridge for several hours before and had them turn out just fine.
3. Preheat the oven to 400°F.
4. Working with one piece at a time, roll the dough to desired thickness. I prefer them very thin and crispy. If you leave them thicker they will not be as crisp. It’s all to do with your preference (experiment here!! It’s only dough…). 6) Transfer the dough and parchment together onto a baking sheet. Lightly brush with oil and then sprinkle the salt over the top of the crackers.
5. Cut the dough into about 1 1/2″ squares. I use my pizza cutter.
6. Prick each square with the tines of a fork.
7. Bake the crackers for about 12 minutes, until the squares are starting to brown around the edges. Turn halfway through cooking time. They may need to stay in a tad longer if you leave them thicker.
8. When browned, remove from the oven and transfer to a cooling rack. Store airtight at room temperature for up to a week; freeze for longer storage.