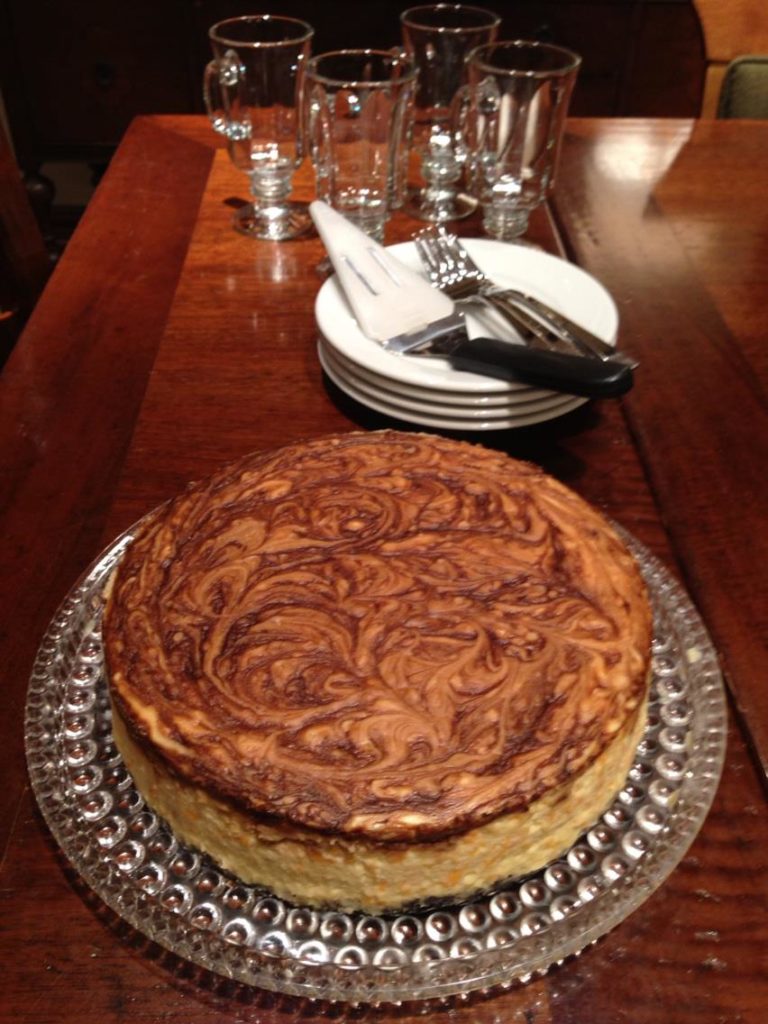
Stout Cheddar Cheese Cheesecake.
Ahhh. This, to me, is St. Patrick’s Day.
St. Patrick’s is less than a week away and I find myself dreaming of this Stout Cheddar Cheese Cheesecake. I first had this cake at a restaurant – one long gone – many, many years ago. It was the name that first drew me in. Stout Cheddar Cheese Cheesecake. I plied the waiter with questions before finally deciding I just had to order it. Was it savory? Sweet? I had to know. (It was sweet)
It was so good I asked for the recipe. To my surprise – and utter delight – they gave it to me! Of course, being the popular restaurant it was at the time, it was in restaurant quantities. It was also given to me in weight vs. volume measurements. This would be no problem today since I do most of my baking by weight. But at that time I had never heard of using a scale to measure ingredients, so I had to convert the recipe into volume amounts. And I needed to decrease it dramatically since the version he gave me made nine large cheesecakes. Great for a busy restaurant; not so great for home.
Personal Touches
Over the years I have added my own flair to this delectable cheesecake. The most notable change involves the crust. I am not a fan of graham cracker crusts, so I make a chocolate cookie crumb crust for it. For the stout in the recipe I use Young’s Double Chocolate Stout. It is expensive? Yes, but you don’t need an entire bottle to make the syrup to swirl into the cheesecake. Hmmm, what to do with the leftovers???
Finally, I like a more dense cheesecake…something that gives my fork a little resistance when I go in for that first bite. Dense, but not too dense. So I add a little more cream cheese than the original recipe called for. Just a little. I’ve tried various amounts, but the recipe (below) reflects what I now deem to be the perfect amount.
The cheese is important!
I am pretty sure the restaurant used more of a Velveeta-style cheese for their version. I do not like Velveeta. I cannot bring myself to use it. Why use what I feel is a “fake cheese” in such a perfect, delicious cheesecake? I set out to find the best “real” cheddar for this. (But feel free to use whatever you like…if you like Velveeta, go for it!)
My first try yielded bits of cheddar that were chewy rather than soft. I don’t remember what I used, probably a really nice sharp cheddar. This is a case where more expensive does not equal better results.
So the next time I made sure to use a much creamier version. I tend to change it up each time, so I really don’t have a specific brand to offer you. I ask the cheese monger at my local store to recommend something that will melt rather than get chewy. He hasn’t let me down so far! I also look for a yellow cheddar cheese for no other reason than to add the color when you slice through the cake. Remember: you eat with your eyes as much as your mouth! It’s up to you; you can decide to go with a white cheddar, but you won’t get that visual presentation.
The Pan
I use a 9″x3″ round cheesecake pan for this. It looks like a regular cake pan, but it’s an inch deeper than a typical cake pan. It also has a removable bottom. The idea is to push the cheesecake up from the bottom. You can also use a springform pan, but to me this is easier. It’s all about what you have on hand and making it work for you.
**By the way, a little baking secret of mine is that I use these same pans for baking cakes. I place a parchment paper circle on the bottom, pour in the batter, and bake. When it is time to turn out my cakes I go around the side of the pan with a flexible spatula to loosen, then push up. No more greasing and flouring the pans before baking. I’ve been doing it this way for YEARS! It works and is a time saver, especially if you do a lot of baking.
STOUT CHEDDAR CHEESE CHEESECAKE
Please Note: This cheesecake takes time. It bakes low and slow…specifically: 225 degrees for 4 hours. So make sure to allow time in your schedule for this one. Also allow time for the crust, which is best made ahead and chilled for at least one hour. This part can be done the night before. Finally, this cheesecake is best when made a day ahead.
CRUST
- Butter, melted 4 oz (1 stick)
- Chocolate Wafers, crushed 8 oz
- (optional) Sugar up to 1/2 cup if you like a very sweet crust
*Make crust ahead, allowing at least one hour to chill in the fridge
- Prepare a 9″ cheesecake pan: insert a 9″ parchment round on the bottom. If you like, you can use a bit of butter to help hold it in place.
- Mix the butter with the chocolate wafer crumbs. You can add up to 1/2 cup of sugar if you like. I prefer it less sweet and feel the cookie crumbs give enough sweetness.
- Once mixed together, press into the bottom and slightly up the sides of the cheesecake pan. Wrap the outside of the pan with foil (don’t cover the top) and place in the fridge for at least one hour.
- This can be prepared a day ahead
FILLING
- Stout (I use Young’s Double Chocolate Stout) 5 oz reduced to 1.5 oz, cooled
- Cream Cheese 2 lbs = (4) 8oz pkgs
- Cheddar Cheese 1 cup
- Sugar 1.5 cups
- Sour Cream 1/4 cup
- Eggs 3
PROCEDURE
- Preheat oven to 225 degrees F
- To get ready for baking: Take out the cheesecake pan with the crust (prepared above); Wrap the outside of the pan with foil to keep out the water from the water bath when baking. Place this inside a larger pan and all of that onto a sheet pan
- Reduce the stout from 5 oz to 1.5 oz. Set aside to cool
- In a mixer, cream together the cream cheese, cheddar cheese, sugar and sour cream on a low speed for about 5 minutes. It should be well blended with no lumps of cream cheese
- Add the eggs and mix to completely blend in, about 1 minute on low
- Pour the batter onto the prepared crust
- Drizzle the reduced stout over the top, then use a toothpick or knife to swirl it into the cheesecake, making a decorative pattern on top
- Pour boiling water into the pan which the cheesecake pan sits in; the water should come halfway up the outside of the cheesecake pan
- CAREFULLY place the sheet pan with the cheesecake into the preheated oven
- Bake for 2 hours; rotate the pan, then bake another 2 hours
- Remove from oven, take the cheesecake pan out of the water and place on a rack to cool
- When cool you can wrap the pan and refrigerate.
- To present: If using a cheesecake pan, all you need to do is push up from the bottom. You can slide the cheesecake onto a serving platter. If you used a parchment round when making the crust you can slide it off of the removable bottom of the pan. If you used a springform pan, just release the sides and place on a platter.
- This is better if you make it ahead and let it set up overnight in the fridge.
Finishing Touches
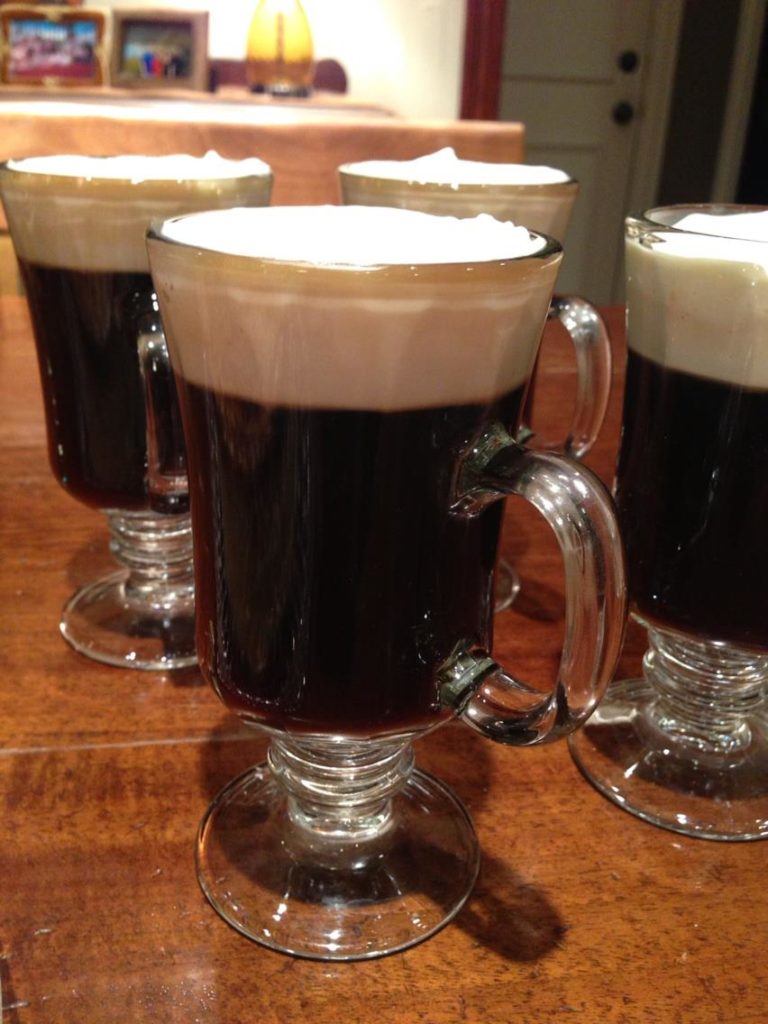
To add that perfect last touch, a properly made Irish Coffee finishes it all off…but I’ll save that recipe for a future post! 😉

Disclaimer: The link I posted for the cheesecake pan is not a site I have used, but it showed the pan nicely. I am not plugging the site, only the pan; however, the price is a good one (as of the time of this posting), so they may be worth checking out. I get no benefit from this site or any other site, so feel free to use the products which work best for you. If ever I do get any compensation for using products, I will make sure to note that.
